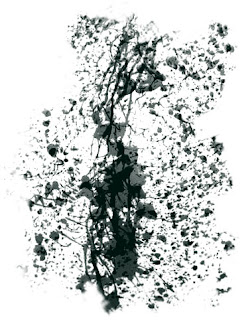
I created a brush that would be useful for creating a rough surface and then modified it using some of the techniques I learned in the Digital Painting Tutorial. Here is what my "raw" brush looks like:
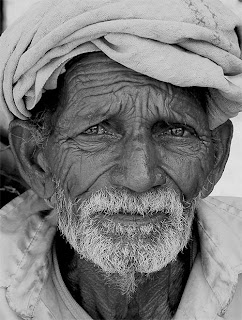
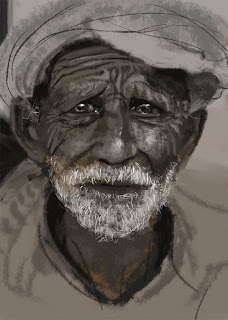
I then found some photo reference of a rough faced old man to test my brush. The image was found here and was taken by the photographer Anil Purohit. I did not trace the image, or sample colors, values etc. from the piece, but instead used the traditional method of sighting my reference and directly painting in the way I would approach an acrylic painting. I was not attempting to perfectly duplicate the photo, but rather use it as a reference point to work from. You may notice that in my version, the head is more straight on, and the expression is more melancholy.
The first stage is to block in my shapes and values using broad stokes with a large version of my custom brush.
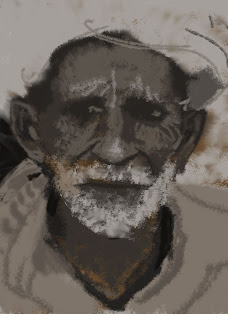
The second stage is where I refine my shapes using a smaller brush with less scattering dynamics.
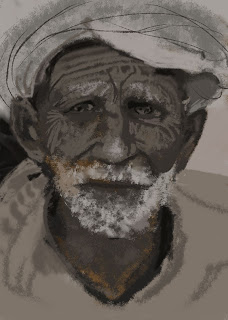
The final stage is where I add the darkest darks, and lightest lights to the piece while adding a focal point (the eyes). This is done with the smallest version of my custom brush.

No comments:
Post a Comment